Mender Yoctoの設定
開発にはYocto Kirkstoneブランチを使用しています。VisionFive - Mender - Yocto - Part 1で説明されているように、作業開発環境をすでにインストールし、環境を設定していると仮定し ます。#### Menderサーバーの設定
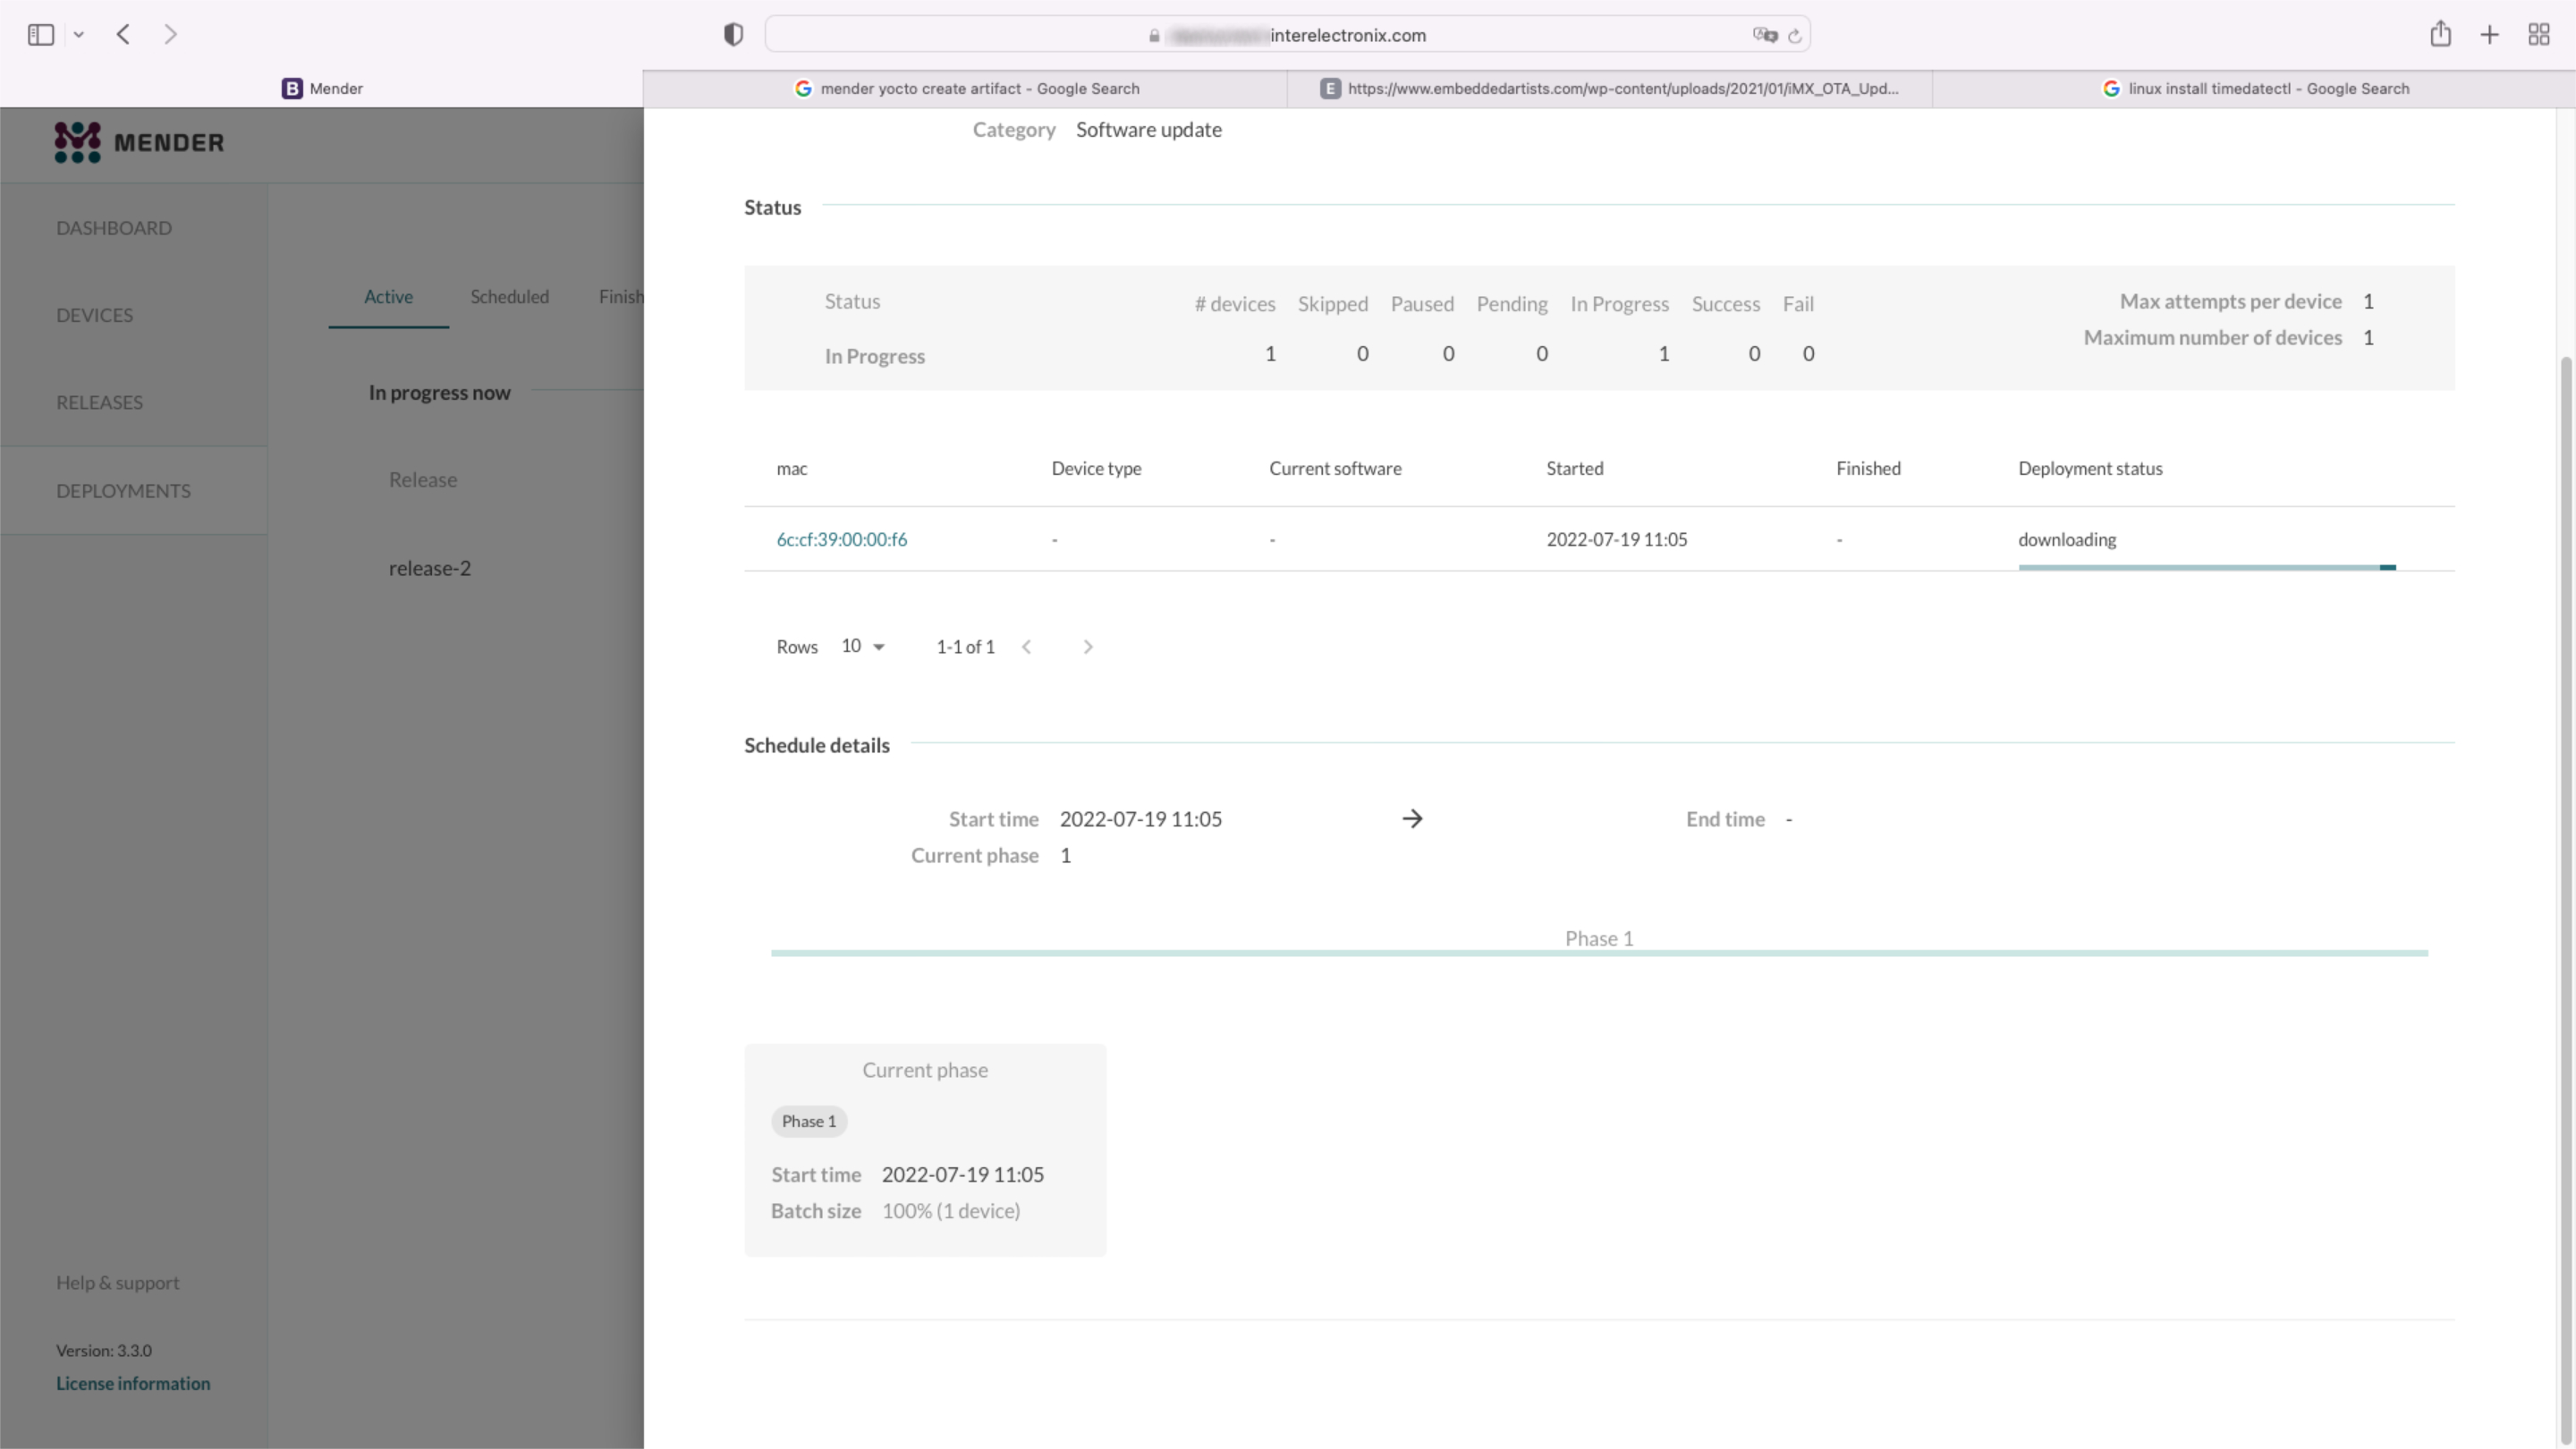
Menderサーバーのインストールは、この記事シリーズの一部ではありません。テスト環境では、Docker Composeを使用したインストールの説明に従って、docker - composeを使用したインストールチュートリアルを使用してMenderサーバーを インストールしました 。
注記
チュートリアルを 逸脱して、カスタムワイルドカードCA証明書を使用します。これを行うには、'./run up -d'コマンドを実行する前に、'/mender-server/production/keys-generated/cert' に公開鍵と秘密鍵をコピーする必要があります。
続行する前に、エラーメッセージを受け取ることなくMenderサーバーにログインできる必要があります。####meta-menderを複製する
pokyディレクトリ(この場合poky-kirkstone)に移動して、meta-menderのリポジトリを複製します。まだKirkstoneブランチがないので、'master-next' ブランチの複製する必要があります。
cd poky-kirkstone
git clone -b master-next https://github.com/mendersoftware/meta-mender.git
local.confとbblayers.conf
bblayers.conf.sample-menderとlocal.conf.sample-menderをmeta-interelectronix-visionfiveディレクトリからconfディレクトリにコピーし、bblayers.confとlocal.confに名前を変更します。
cp ../poky-kirkstone/meta-interelectronix-visionfive/conf/bblayers.conf.sample-mender conf/bblayers.conf
cp ../poky-kirkstone/meta-interelectronix-visionfive/conf/local.conf.sample-mender conf/local.conf
bblayers.confファイルでは、poky-kirkstoneディレクトリへのパスを調整しなければなりません。また、'/workdir/poky-kirkstone/meta-interelectronix ' 行を削除します。これはpsplashのカスタム化のみに必要です。local.confの重要な設定は次のとおりです。
# mender settings
####### The name of the disk image and Artifact that will be built.
####### This is what the device will report that it is running, and different updates must have different names
####### because Mender will skip installation of an Artifact if it is already installed.
MENDER_ARTIFACT_NAME = "release-1"
INHERIT += "mender-full"
####### The version of Mender to build. This needs to match an existing recipe in the meta-mender repository.
####### Given your Yocto Project version, see which versions of Mender you can currently build here:
####### https://docs.mender.io/overview
####### Given a Mender client version, see the corresponding version of the mender-artifact utility:
####### https://docs.mender.io/overview
####### By default this will select the latest version of the tools that is backwards compatible with the
####### given Yocto branch.
####### If you need an earlier version, or a later version even though it may not be backwards compatible,
####### please uncomment the following and set to the required version. If you want to use the bleeding
####### edge version, specify "master-git%", but keep in mind that these versions may not be stable:
####### PREFERRED_VERSION_mender-client = "3.3.0"
####### PREFERRED_VERSION_mender-artifact = "3.8.0"
####### PREFERRED_VERSION_mender-artifact-native = "3.8.0"
####### PREFERRED_VERSION_mender-connect = "2.0.1"
####### The following settings to enable systemd are needed for all Yocto
####### releases sumo and older.  Newer releases have these settings conditionally
####### based on the MENDER_FEATURES settings and the inherit of mender-full above.
DISTRO_FEATURES:append = " systemd"
VIRTUAL-RUNTIME:init_manager = "systemd"
DISTRO_FEATURES_BACKFILL_CONSIDERED = "sysvinit"
VIRTUAL-RUNTIME_initscripts = ""
ARTIFACTIMG_FSTYPE = "ext4"
####### Example: Memory card storage
MENDER_STORAGE_DEVICE = "/dev/mmcblk0"
####### Example: Memory card with 2GiB of storage.
#######MENDER_STORAGE_TOTAL_SIZE_MB = "29476"
#######MENDER_STORAGE_TOTAL_SIZE_MB = "14738"
MENDER_STORAGE_TOTAL_SIZE_MB = "7369"
MENDER_UBOOT_STORAGE_INTERFACE = "mmc"
MENDER_UBOOT_STORAGE_DEVICE = "0"
MENDER_BOOT_PART = "${MENDER_STORAGE_DEVICE_BASE}1"
MENDER_DATA_PART = "${MENDER_STORAGE_DEVICE_BASE}4"
MENDER_ROOTFS_PART_A = "${MENDER_STORAGE_DEVICE_BASE}2"
MENDER_ROOTFS_PART_B = "${MENDER_STORAGE_DEVICE_BASE}3"
MENDER_FEATURES_ENABLE:append = " mender-uboot mender-image-sd"
MENDER_FEATURES_DISABLE:append = " mender-grub mender-image-uefi"
MACHINE_ESSENTIAL_EXTRA_RDEPENDS:append = " kernel-image kernel-devicetree"
PREFERRED_VERSION:mender-client = "3.3.0"
meta-starfive-bspのカスタマイズ
meta-starfive-bspのブランチを作成して、Mender設定に必要な設定を追加します。カスタマイズは次の場所で行う必要があります。- conf/machine/starfive-visionfive-jh7100.conf:この2行を削除またはコメント化
UBOOT_ENV ?= "uEnv"
UBOOT_ENV_SUFFIX = "txt"- recipes-bsp/bootfiles/files/uEnv.txt: 次の行を、起動中にMenderの変数を含む様に置き換えます
bootcmd=load mmc 0:1 ${kernel_addr_r} @IMAGETYPE@; load mmc 0:1 ${fdt_addr_r} jh7100-starfive-visionfive-v1.dtb; setenv bootargs 'root=${mender_kernel_root} rw rootfstype=ext4 rootwait earlycon console=ttyS0,115200n8'; booti ${kernel_addr_r} - ${fdt_addr_r}- recipes-bsp/u-boot/u-boot-visionfive_v2022.03.bb: meta-menderにカスタムu-bootを使う必要があることを伝えるために次の行を加えます
require recipes-bsp/u-boot/u-boot-mender.inc

PROVIDES += "u-boot"
RPROVIDES_${PN} += "u-boot"

BOOT_FILES:append = " uEnv.txt"
meta-interelectronix-visionfiveのレシピ
meta-interelectronix-visionfiveのように、カスタムのmeta-layerに設置するために一部の設定と変数が必要です。- recipes-mender/mender-client/mender-client_%.bbappend: MenderサーバーのURLを追加します
MENDER_SERVER_URL = "https://mender.interelectronix.com"- recipes-bsp/u-boot/u-boot-visionfive_%.bbappend: 次の行を追加します
MENDER_UBOOT_AUTO_CONFIGURE = "1"
BOOTENV_SIZE = "0x20000"- recipes-bsp/u-boot-env/*: ダウンロードしたzipファイルから、このレシピを追加します。これには2つのuEnv-filesが含まれており、これはrootファイルシステムでしようされています。パーティションAから起動する場合には、uEnv_visionfive.txtがrootfsで使用されており、パーティションBで起動する場合には、uEnv_visionfive3.txtが使用されています。- recipes-core/images/vision-five-image-mender.bb: この画像レシピまたは'u-boot-env'を、ご自分の画像レシピに追加します。
IMAGE_INSTALL:append = " v4l-utils u-boot-env"
重要
画像をビットベイクする前に、この記事シリーズの次の部分で説明するようにu-bootをカスタマイズする必要があります。
VisionFive - Mender - Yocto - Part 3で、Menderのためのu-boot設定の方法をご覧ください。
著作権ライセンス
** Copyright © 2022 Interelectronix e.K.**
このプロジェクトのソースコードは、** GPL-3.0 **ライセンスの下でライセンスされています。

一連の記事のパート4は、Menderクライアントを統合してYocto Linuxを作成するためのYocto環境を設定する方法を説明します。

一連の記事のパート3は、Menderクライアントを統合してYocto Linuxを作成するためのYocto環境を設定する方法を説明します。

