Introduction
This is a guide for installing Raspberry Pi OS Lite on the Compute Module 4. As a work computer, I use Ubuntu 20, installed in a virtual machine.
Sources
For the instructions, I used Jeff Geerling's description as a strong guide:
Install Raspberry Pi OS on the Compute Module 4
Prerequisites
I'm using a Raspberry Compute Module 4 with 1 GB of RAM and 8 GB of eMMC storage. In addition, there is a Raspberry Compute Module 4 IO board, on which the compute module is plugged in, so that appropriate interfaces such as USB, Ethernet, etc. available.
To flash the software to the compute module I use balenaEtcher, which you can download here https://www.balena.io/etcher/ .
As an operating system I use "Raspberry Pi OS Lite" - which is based on Debian Buster - which you can download https://www.raspberrypi.org/software/operating-systems/ here.
Preparing eMMC storage for mount
In order to be able to flash the Raspberry IO to the compute module, the memory must first be mounted - like an SSD card.
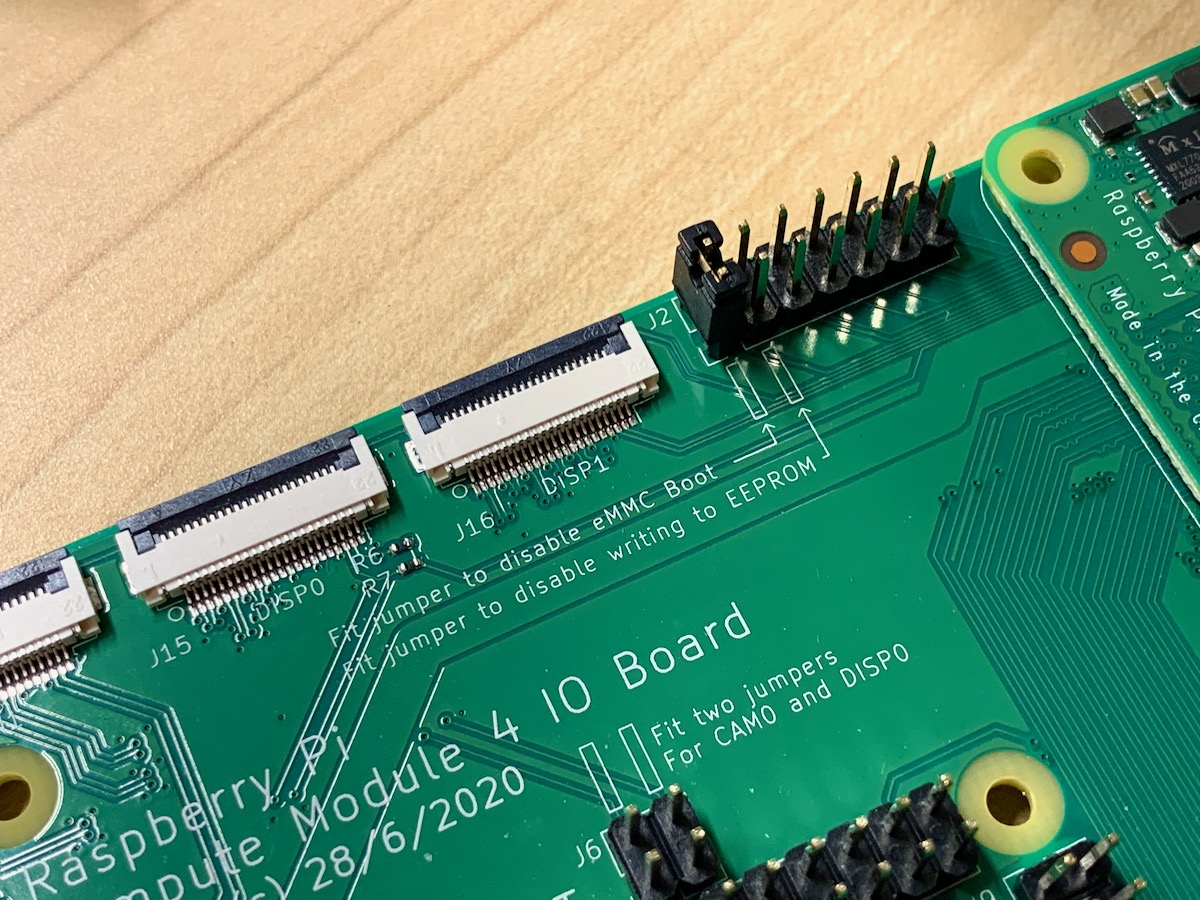
To do this, you have to set a jumper at pins J2 on the compute module IO board. The text "Fit jumper to disable eMMC Boot" is printed on the IO board as a note.

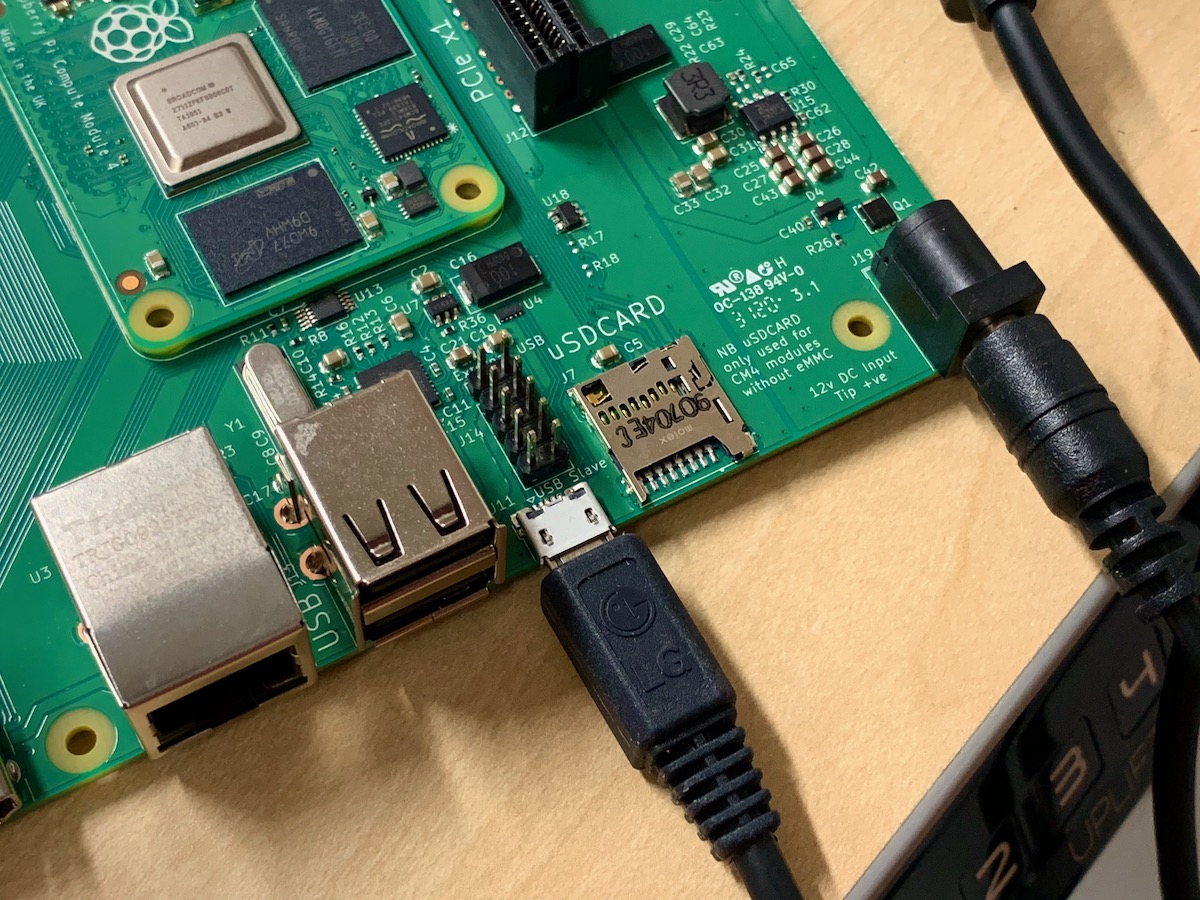
Then connect the "USB slave" to the computer and supply the IO board with power supply with a power supply.

Install software for eMMC mount
On Linux, you need the library "libusb" and the program "usbboot".
Install libusb
You can easily use libusb on Ubuntu with
sudo apt install libusb-1.0-0-dev
install.
Install usbboot
To install usbboot, you must first clone the Git repository.
git clone --depth=1 https://github.com/raspberrypi/usbboot
Then change to the usbboot directory and compile with make usbboot.
cd usbboot
make
Now you can start with
sudo ./rpiboot
mount the eMMC storage.
Flashing Raspberry Pi OS to eMMC
Now you can call "balenaEtcher", select the Raspberry Pi OS image and "Compute Module /dev/sdb", and start the copying process with "Flash".
When the copying process is finished, unmount the two partitions "boot" and "rootfs", unplug the IO board and disconnect it from the power supply and then remove the jumper at J2 again.
Now you can connect and use the Raspberry Compute Module normally via HDMI, Ethernet and USB with the screen, network and keyboard.
In the next blog post I will explain how to install Qt 5.15 on Compute Module 4 and cross-compile it with Ubuntu 20.

