Prerequites
Hardware
Host [PC/Laptop]: Any x86/x86_64 AMD/Intel machine
Target [Raspberry Pi 4]: Raspberry Pi 4
Software
Host: Any Linux machine (Ubuntu 20.04 LTS Tested)
Target: Raspberry Pi 4 Linux 32-bit OS (Raspbian Bullseye Lite tested)
Note
In the background the cross compile toolchains for Raspberry Pi from abhiTronix are used.
Others
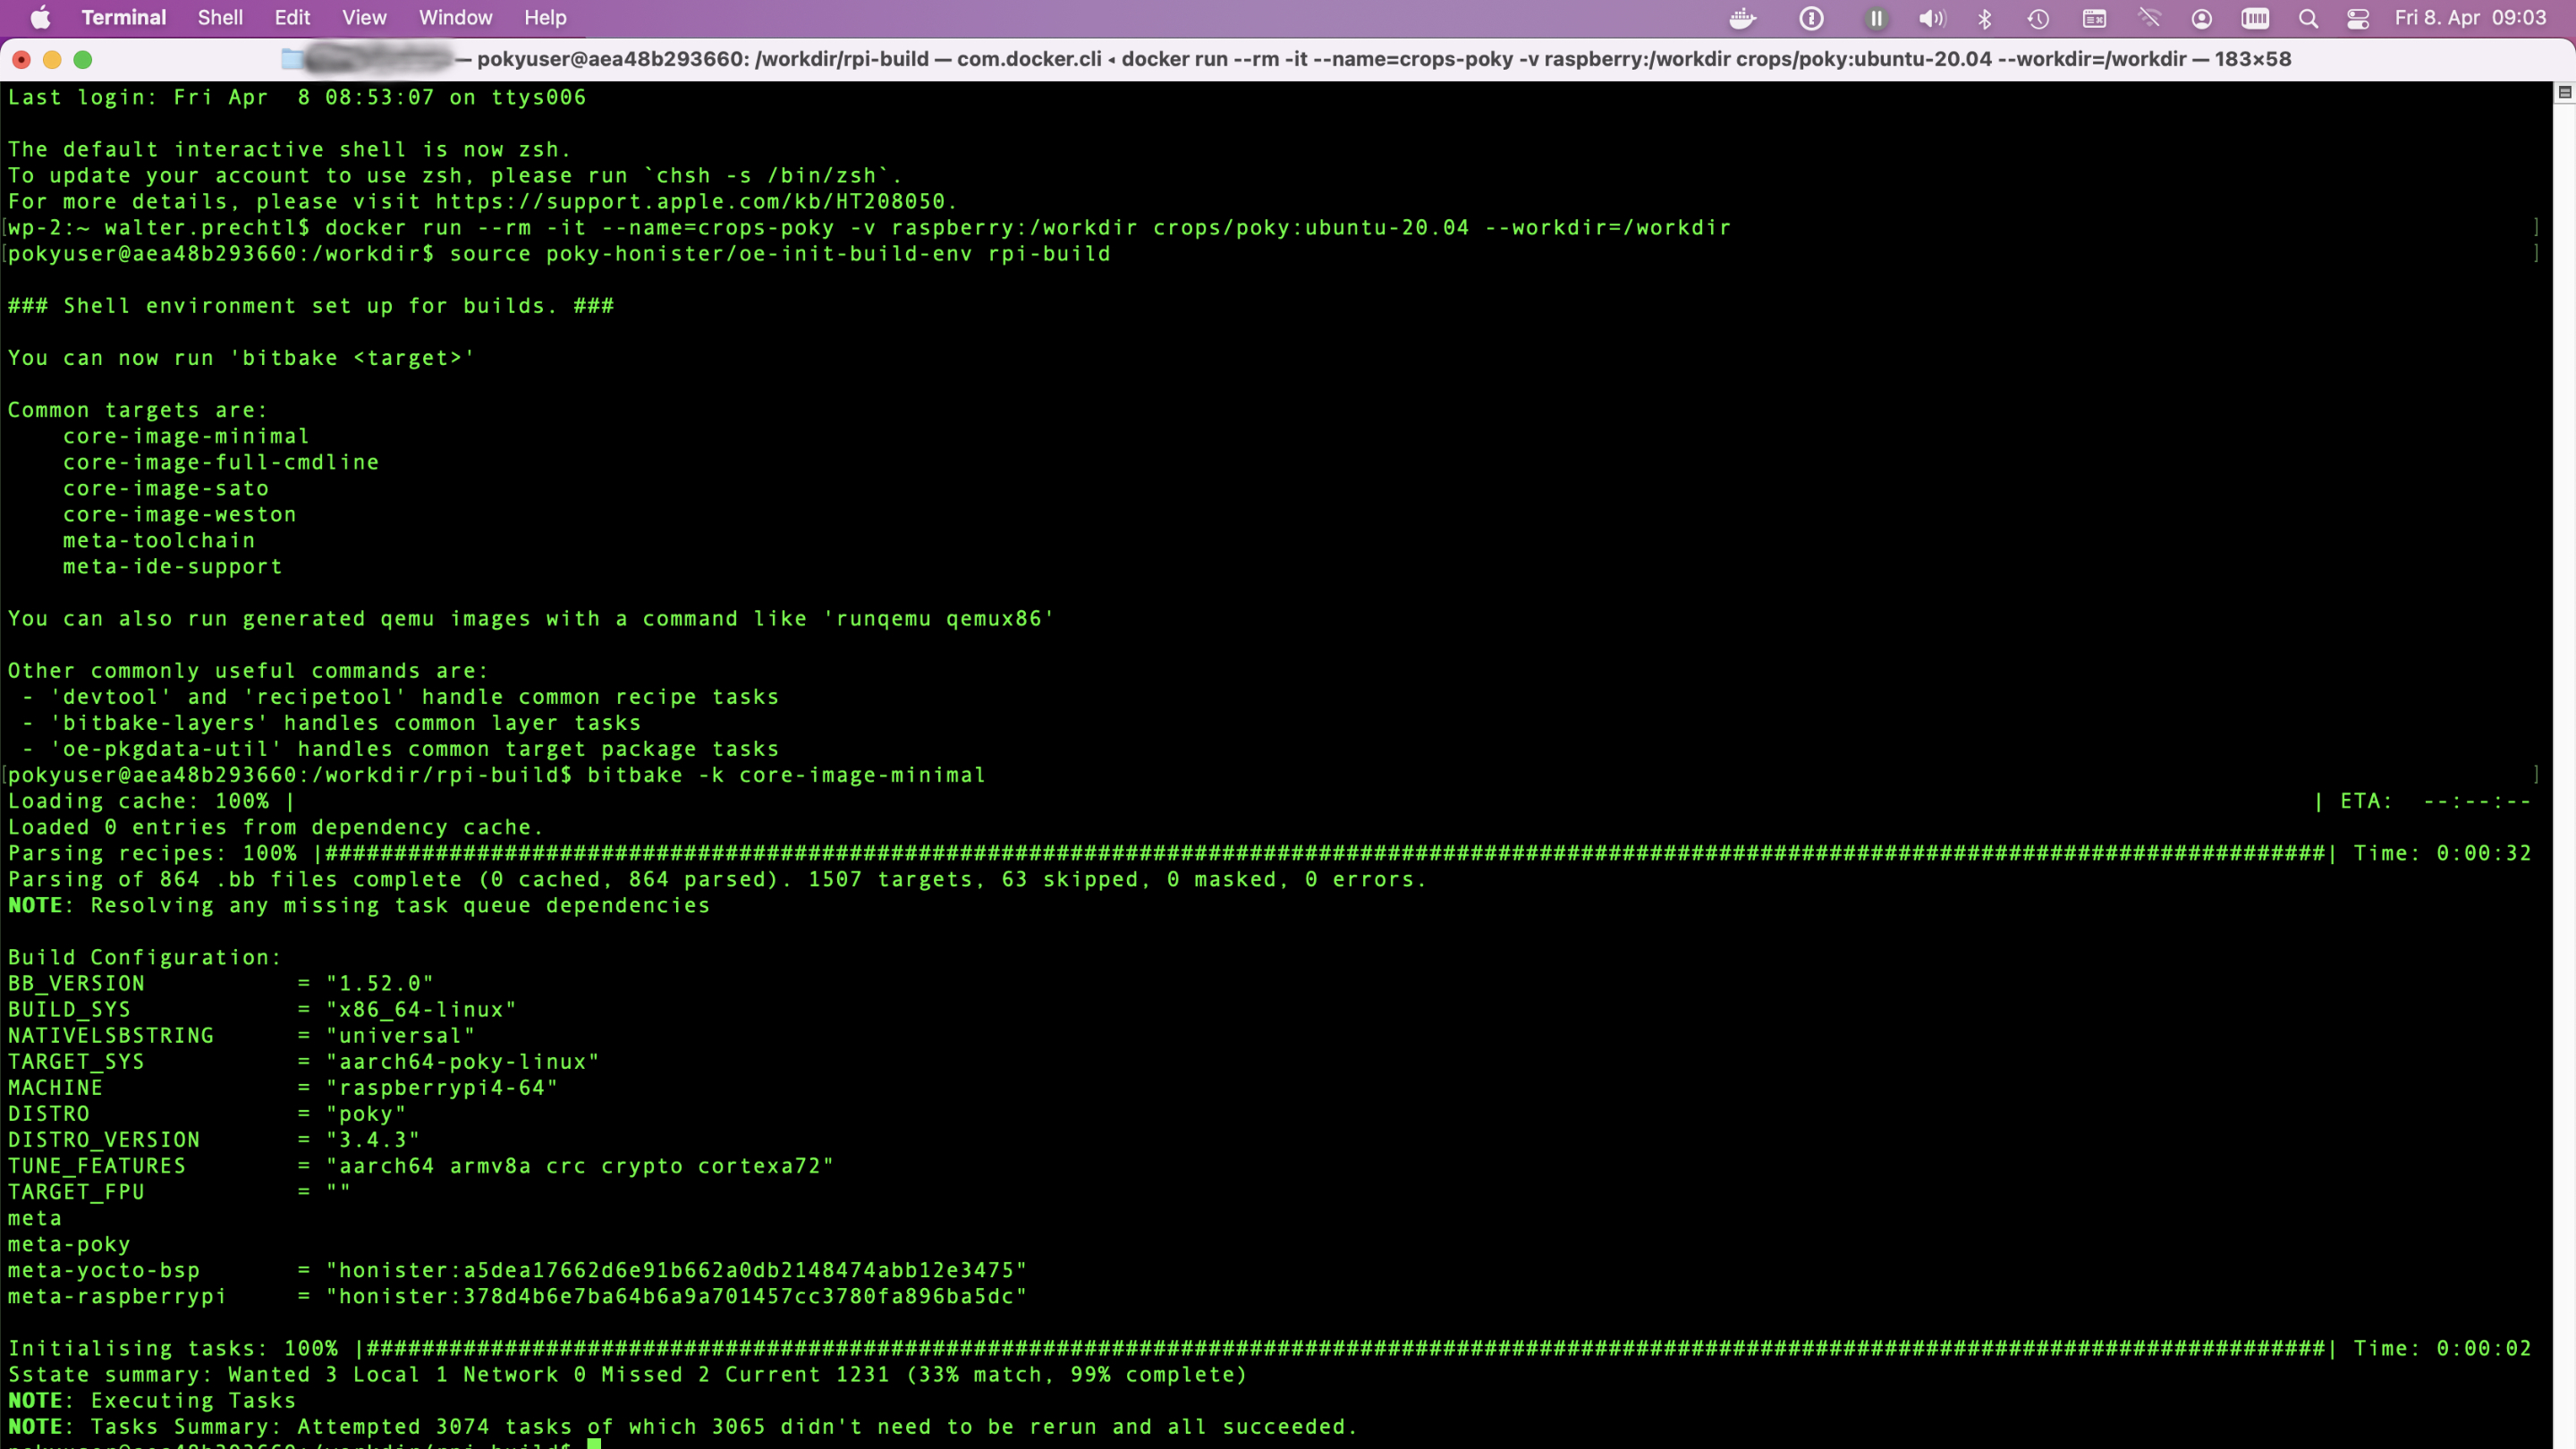
Storage and Time Requirements: The build directory takes around ~10GB space and about 2-5 hours to complete (based on dependencies & Host Machine Specifications).
Networking: Your Target Machine (Raspberry Pi) and Host Machine (where you cross-compiling) both MUST have Internet Access, and MUST be on SAME Network to follow these instructions.
Steps/Settings for Target Machine (Raspberry Pi)
1. Start from Scratch (Optional)
Important
If you just brought a new Raspberry Pi or wanted to start from scratch just follow along. Otherwise, if you already has your Raspberry Pi setup, running, and Network Ready, then just skip to step 2.
Note
This section assume you have atleast 10GB SDcard for installing Raspbian (Stretch/Buster/Bullseye) OS and a Laptop/PC for uploading it.
1.1. Download Softwares & Prepare the SD card
- Download the latest version of Raspbian (Bullseye) from here on your laptop/pc.
- You will be needing an image writer to write the downloaded OS into the SD card (micro SD card in our case). You can use Balena Etcher.
- Insert the SD card into the laptop/pc and run the image writer. Once open, browse and select the downloaded Raspbian image file. Select the correct device, that is the drive representing the SD card.
Note
If the drive (or device) selected is different from the SD card then the other selected drive will become corrupted. SO BE CAREFUL!
- Once the write is complete, eject the SD card and insert it into the Raspberry Pi and turn it on. It should start booting up.
- Please remember that after booting the Pi, there might be situations when the user credentials like the "username" and password will be asked. Raspberry Pi comes with a default username `pi` and password `raspberry` and so use it whenever it is being asked.
1.2 Set up Network
Now the you have your Raspberry Pi up and Running, its time to connect it your network with one of following ways:
- If you have Monitor: Connect it to your raspberry pi along with a keyboard and mouse to navigate, and follow this guide.
- If you don't have Monitor: Follow this guide
2. Set up SSH
If you have Monitor: On the Raspberry Pi terminal, type:
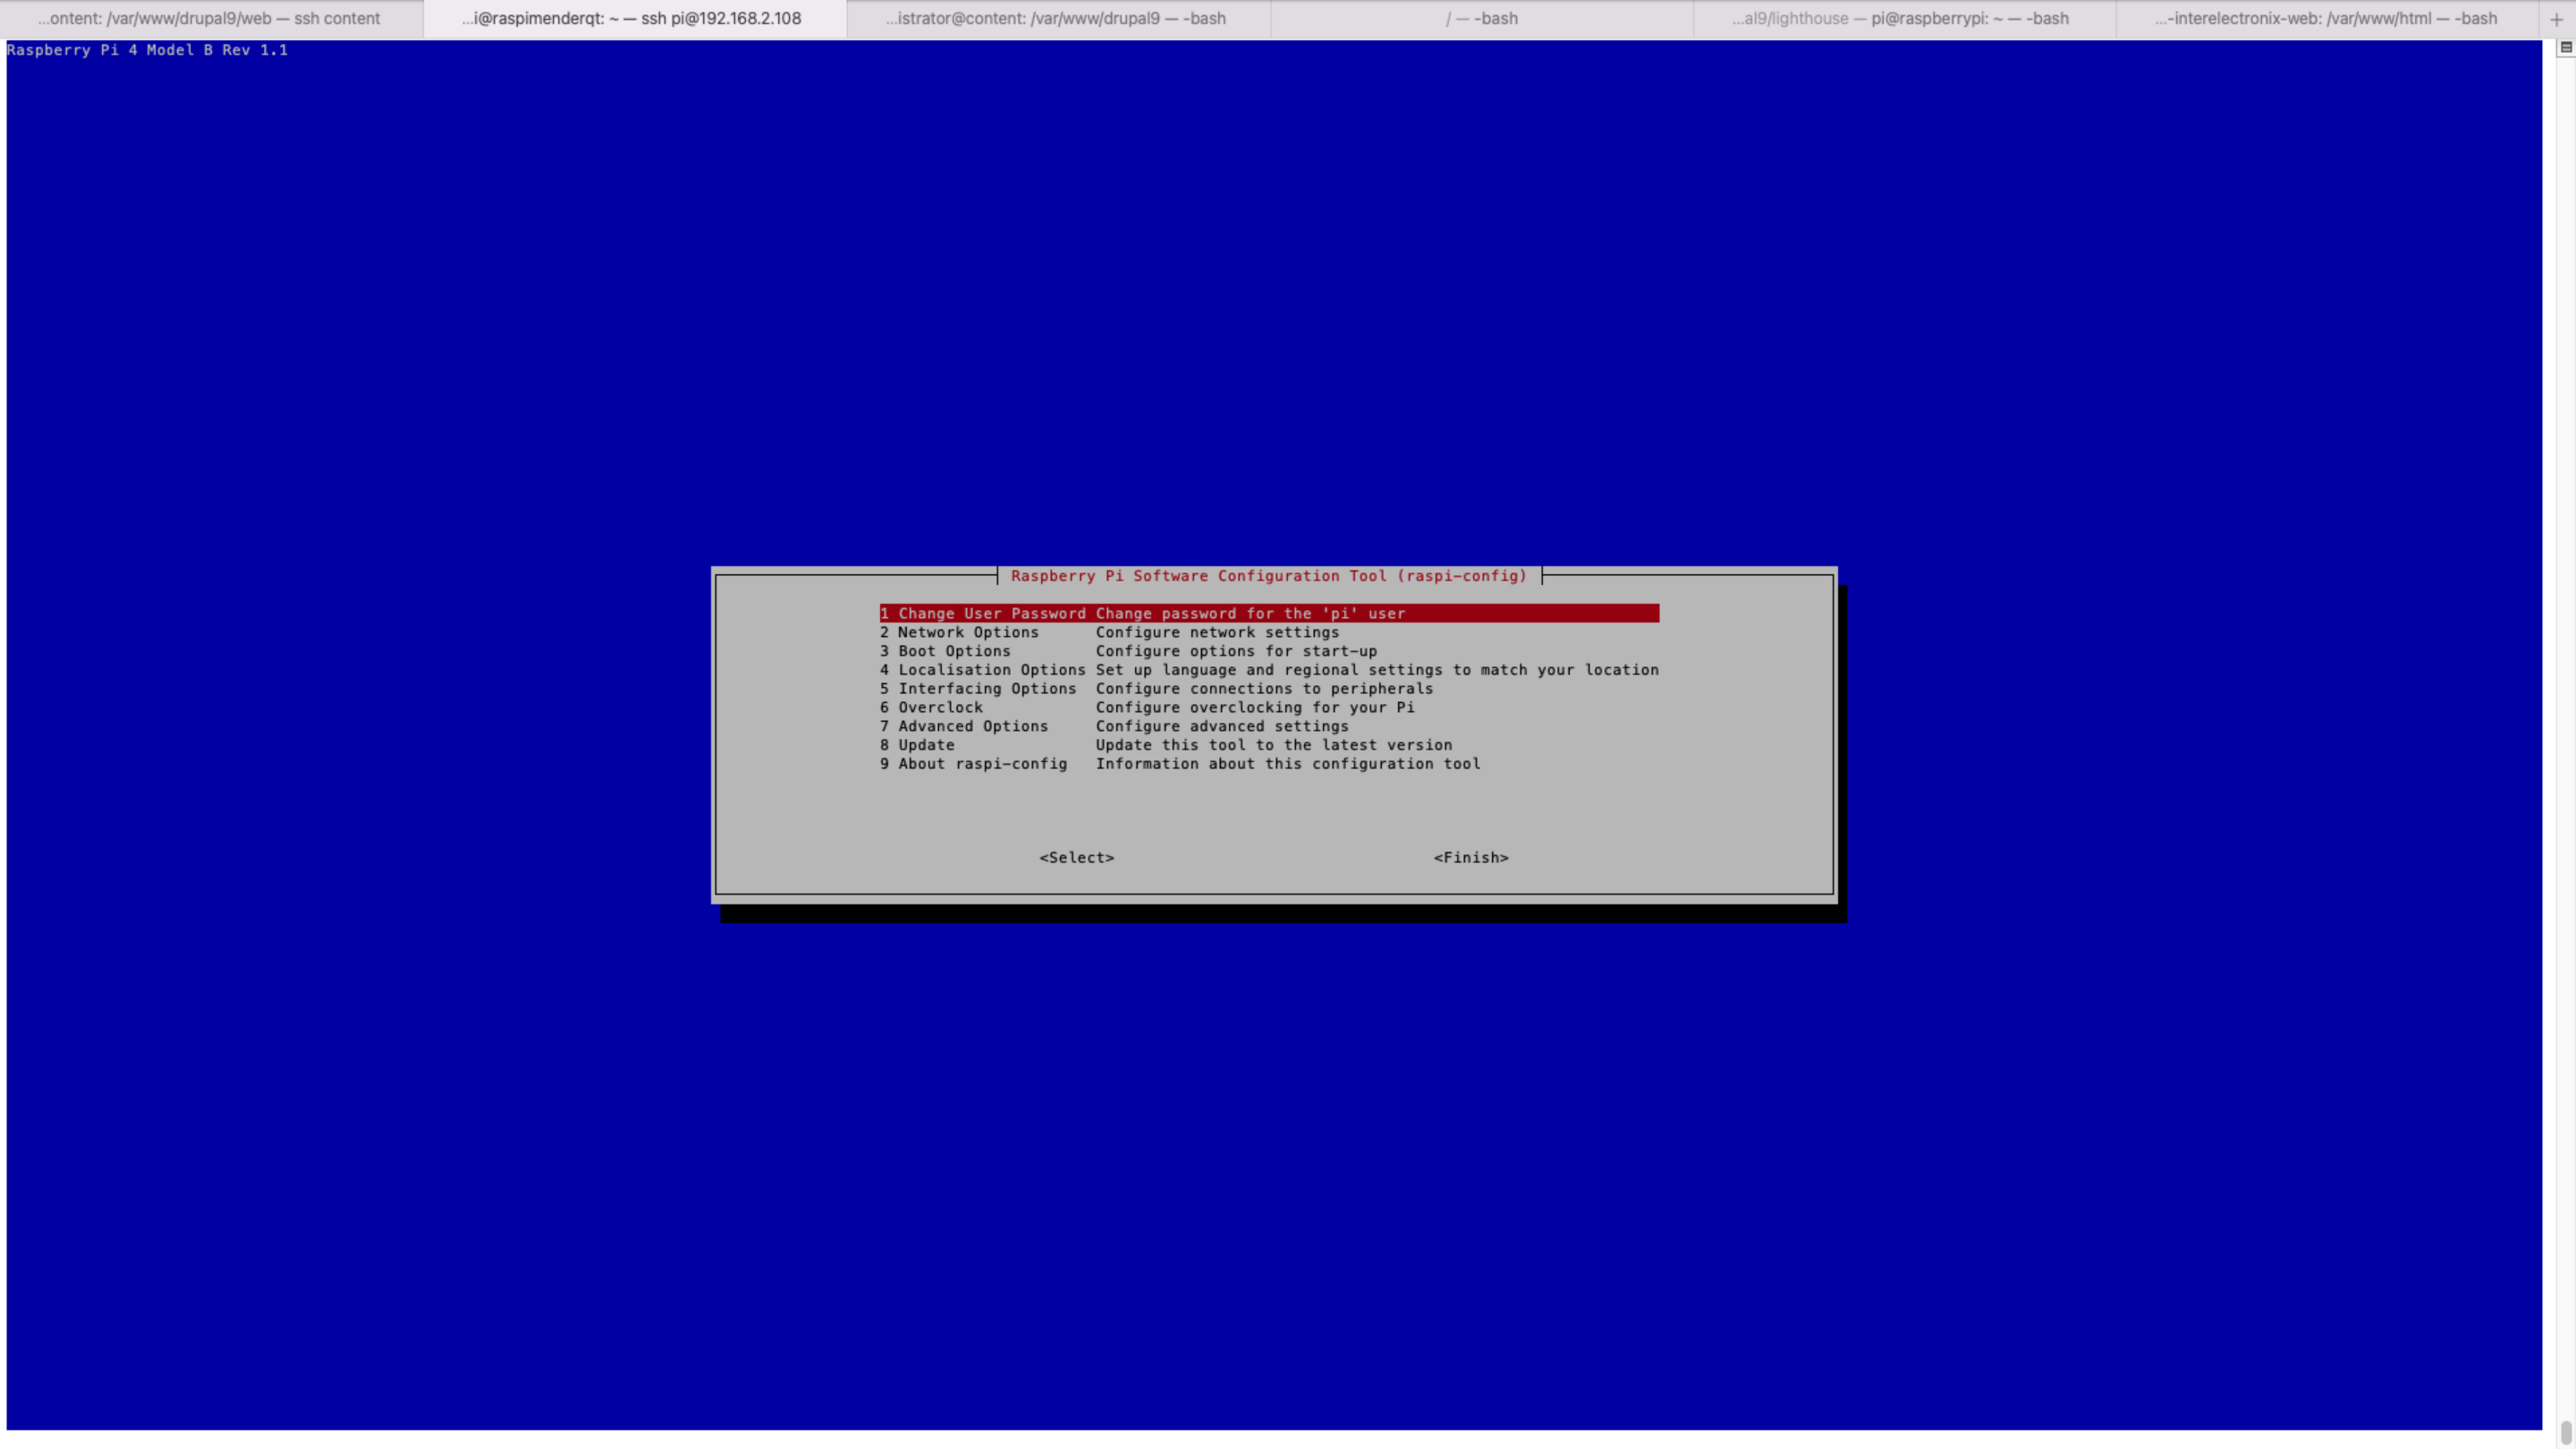
sudo raspi-configand menu should pop up on your terminal. To enable SSH, go to:Interfacing Options->SSH->Yes, and ClickOKto enable it. ChooseFinishfinally and exit.If you don't have Monitor: After setting up the network, if you don't have monitor or you operating it remotely. Then, enable SSH by just taking out your SD card, and hook it your computer, and simply create an empty file called
sshin the/boot/paritionpath inside SD card. Now insert back SD card into the Raspberry Pi.
3. Open Terminal
- From another Laptop/PC using SSH: To connect to your Pi from a different computer, copy and paste the following command into the terminal window but replace
192.160.1.47with the IP address of the Raspberry Pi.
ssh pi@192.168.1.47 It will ask for password, and if not changed, it is default (raspberry), and so use it whenever it is being asked.
Note
It is possible to configure your Raspberry Pi to allow access from another computer without needing to provide a password each time you connect. For more details, see here.
4. Get scripts
Connect to your Pi with ssh and download the zip file:
ssh pi@192.168.1.47

wget https://www.interelectronix.com/sites/default/files/scripts/qt-cross-compile-rpi4.zip
unzip qt-cross-compile-rpi4.zip
cd qt-cross-compile-rpi4
You can also download the zip file via browser from here.
Make the script qt-cross-compile-script-pi4.sh executable and execute it:
sudo chmod +x qt-cross-compile-script-pi4.sh
sudo ./qt-cross-compile-script-pi4.sh
After a while all needed packages are installed, the needed directories are created and the symlinks are correctly set.
Important
Make sure your Raspberry Pi and this Host machine (where you cross-compiling) MUST be on the SAME Network.
Steps/Settings for Host Machine (Linux Ubuntu)
For testing, we used a virtual machine (vmware) with a clean Ubuntu 20.04 LTS version.
1. Download ZIP file
wget https://www.interelectronix.com/sites/default/files/scripts/qt-cross-compile-rpi4.zip
unzip qt-cross-compile-rpi4.zip
cd qt-cross-compile-rpi4
You can also download the zip file via browser from here.
2. Make the script qt-cross-compile-script-pi4.sh executable and execute it
chmod +x qt-cross-compile-script-host.sh3. Change variables in the script
You need to change the ip address (raspberry_ip) of your raspberry pi in the script and if you changed the user (raspberry_user) and password (raspberry_pwd) of the raspberry.
nano qt-cross-compile-script-host.sh4. Execute the script
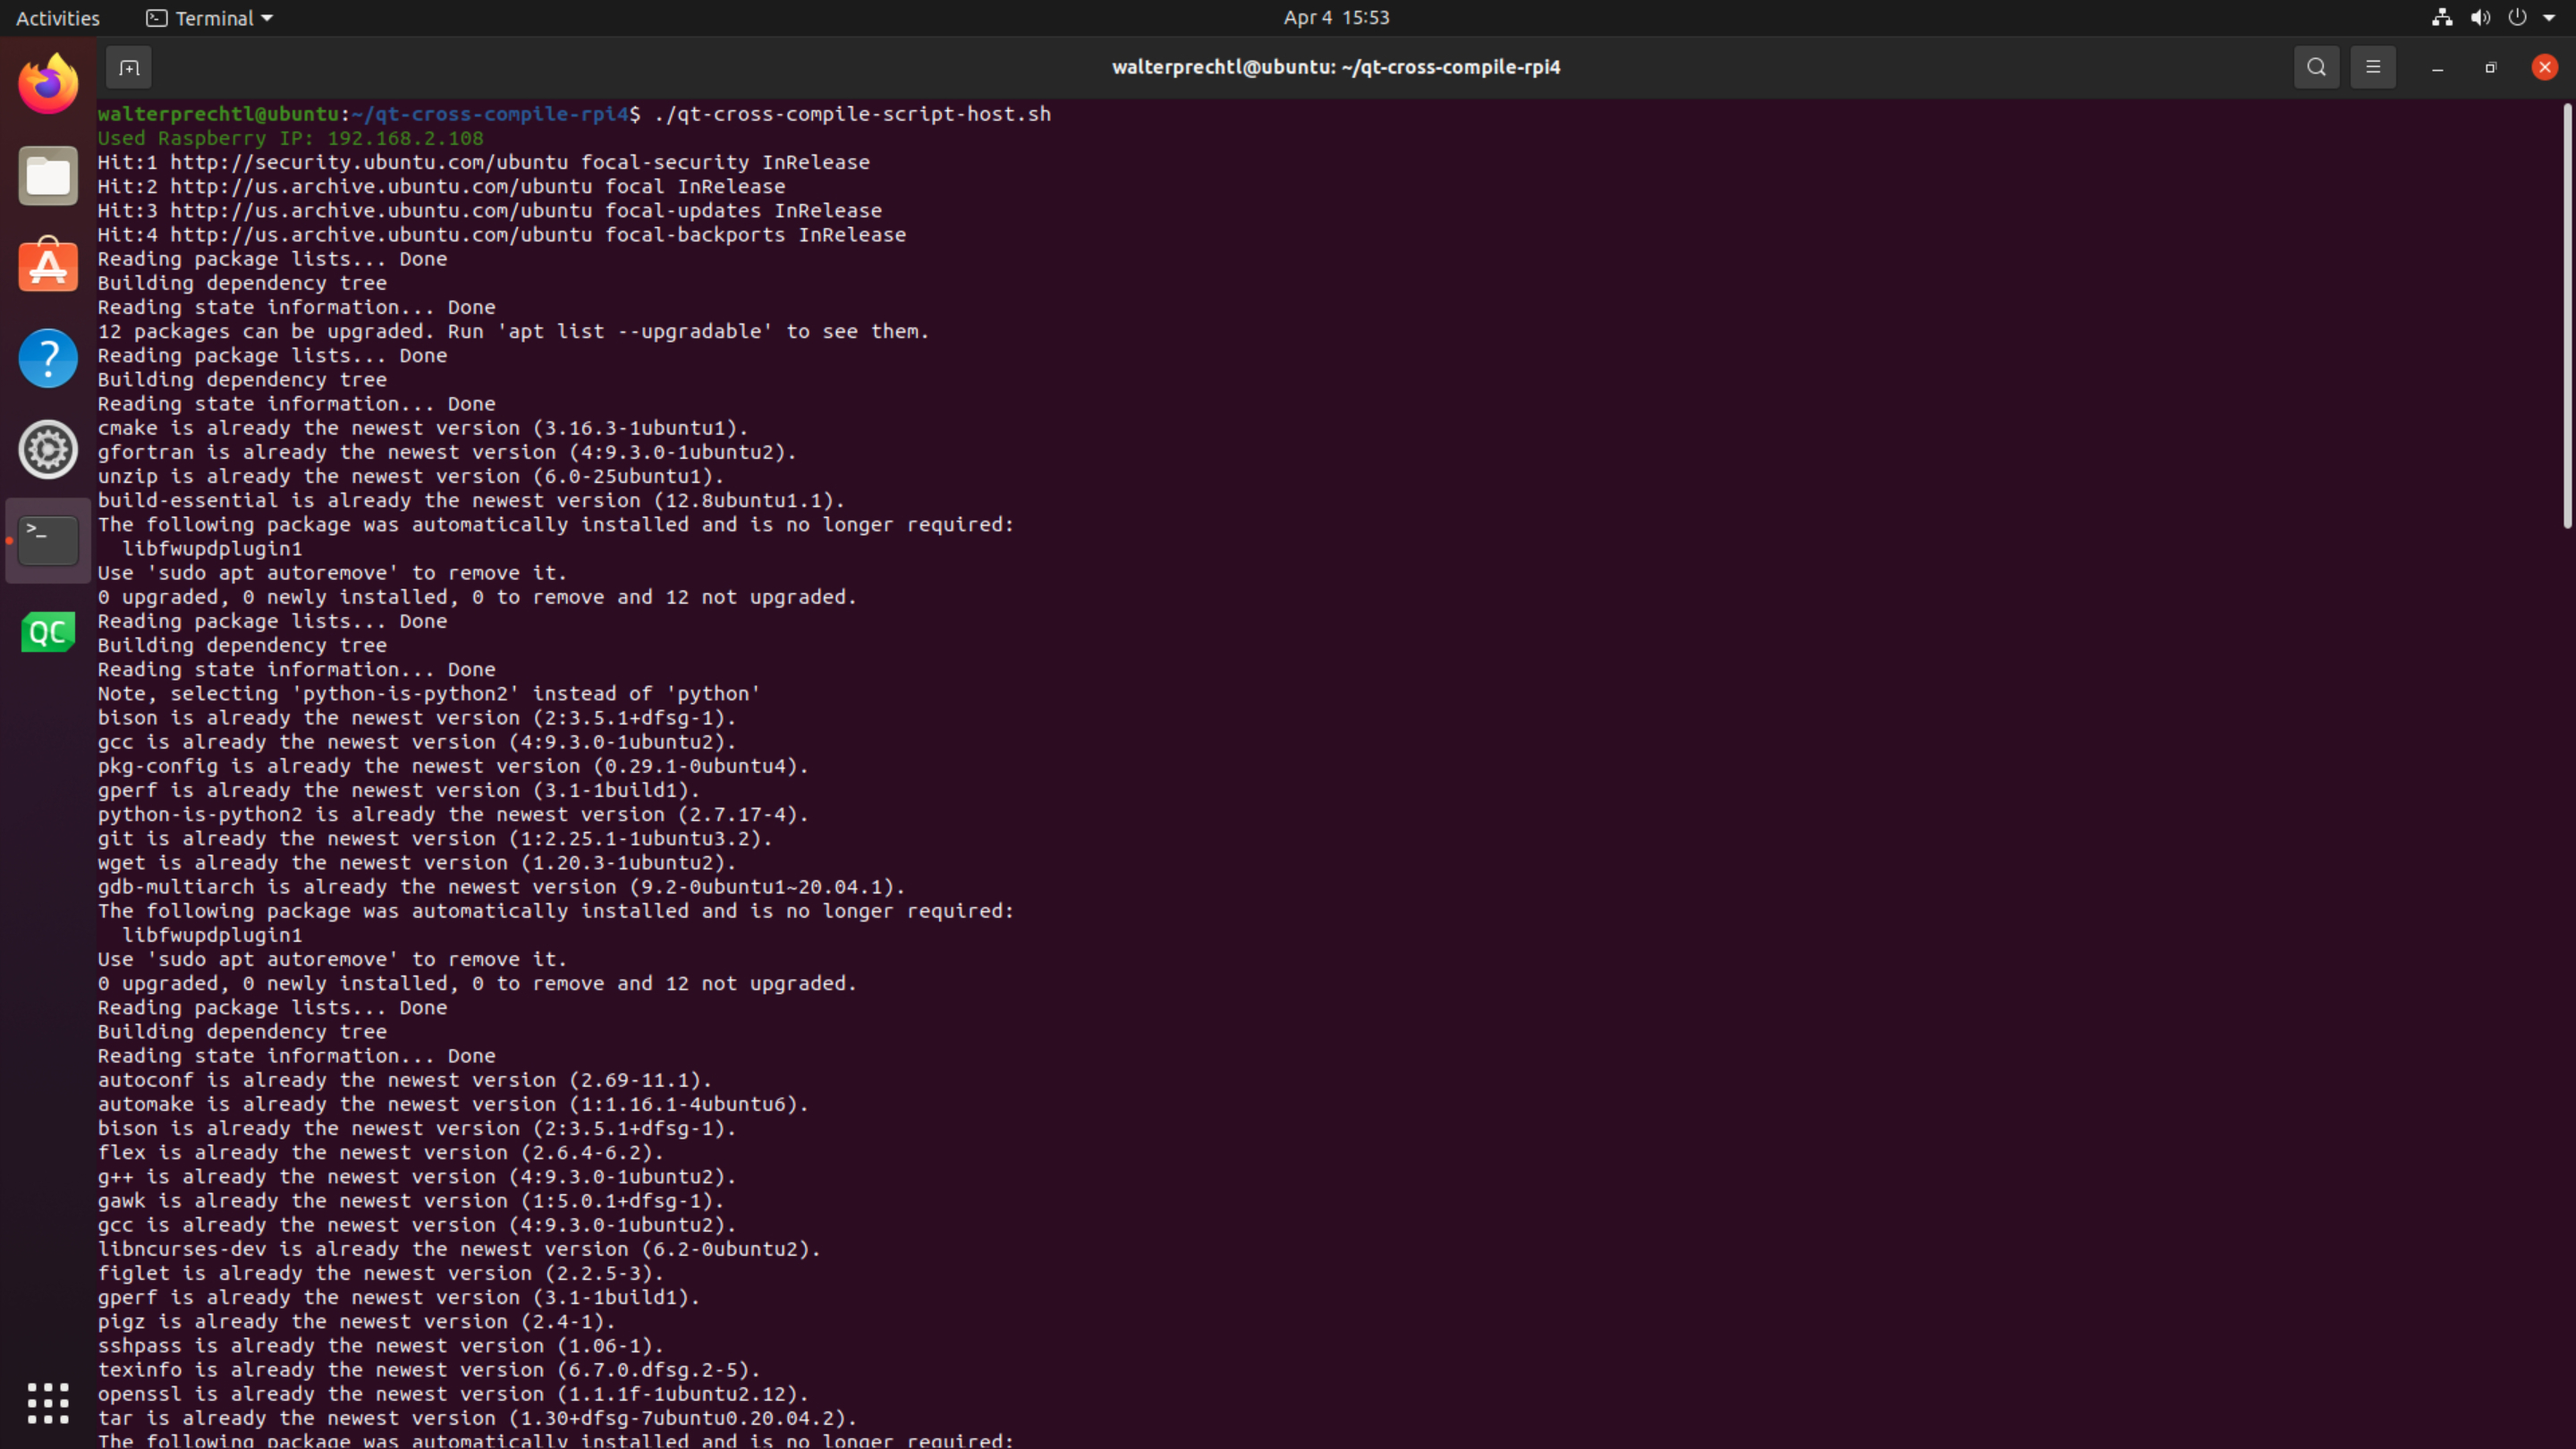
sudo ./qt-cross-compile-script-host.shThe script performs the following actions:
- install all needed packages
- create needed directories (
~/rpi-qt) - download and extract Qt sources
- patch Qt sources
- download and extract cross compiler
- rsync files from raspberry pi
- download symlinker and set symlinks
- configure Qt build
- make and make install Qt build
- rsync Qt binaries to raspberry
Final Step for Target Machine (Raspberry Pi)
Update linker on Raspberry Pi
Enter the following command to update the device letting the linker to find the new QT binary files:
echo /usr/local/qt5.15/lib | sudo tee /etc/ld.so.conf.d/qt5.15.conf
sudo ldconfig
Configure Qt Creator for cross compiling
Read the blog Configuring Qt-Creator on Ubuntu 20 Lts for cross-compilation for including the compiled binaries (folder ~/rpi-qt/qt5.15) in Qt Creator.
Copyright License
Copyright © 2022 Interelectronix e.K.
This Project source code is licensed under the GPL-3.0 license.
Acknowledgments
- This document is inspired by Step-by-step instruction for cross compiling latest Qt framework for Raspberry Pi. Huge thanks to @abhiTronix.
- Thank you QT framework, for providing the source files

